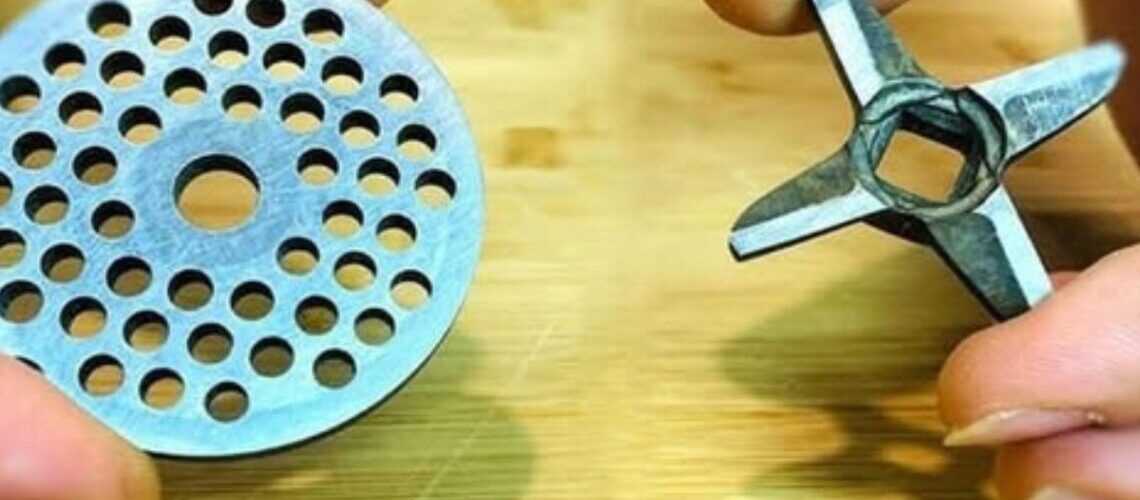
Step-by-step instructions for rust removal, grinding, and cleaning. Perfect for lovers of traditional kitchen appliances.
Old Soviet meat grinders are among those household appliances that will never go out of style. These robust devices are known for their exceptional durability. Unlike modern electric versions, they are practically indestructible and can often be used for decades. A well-known Soviet saying goes, “The only thing that can break in a meat grinder is the table it’s sitting on.” So, if you find an old meat grinder, don’t throw it away immediately; give it a second chance.
Removing Rust and Cleaning: Step-by-Step Instructions
To extend the life of your meat grinder, thorough cleaning and maintenance are essential. Here’s how to remove the rust and restore your appliance to perfect working order:
Materials needed:
Water
A pot or bowl for heating
1 tablespoon citric acid
Rags or cloths
Sandpaper (400 and 1200 grit)
Removing the rust
First, you need to remove the rust from the surface of the meat grinder. This step is necessary to ensure that no rust particles get into the ground meat. To do this, boil water and add 1 tablespoon of citric acid. Submerge the grinder and blades in the boiling water and let them soak for 5–7 minutes. The rust will automatically detach from the metal parts during this process. Be prepared for an unpleasant odor, as carbon and food residue will also be released.
Removing black deposits
After removing the rust, you need to clean the black deposits from the metal parts. Use a soft cloth and wipe the parts thoroughly. This will remove as much residue as possible. This helps keep the meat grinder hygienic and in good working order.
Sanding the Parts
The next step is to sand the metal parts to smooth and sharpen them. Attach 400- and 1200-grit sandpaper to a solid surface, for example, with electrical tape. Lightly dampen the sandpaper for better sanding. Be sure to sand both the outer surfaces and the inner holes of the grid and the blade. This step requires some patience, as every detail must be thoroughly cleaned to ensure a long service life for the appliance.
Cleaning After Maintenance
After sanding the meat grinder and removing all rust and dirt residue, you should clean it thoroughly. A tried-and-tested tip is to grind some solid, frozen pieces of lard or dry bread through the meat grinder. This helps remove any remaining residue and prepares the meat grinder for the next use.
Care and Maintenance for Longevity
To ensure your meat grinder continues to operate reliably, you should perform regular maintenance. This includes removing rust, sharpening the blades and grinding plate, and cleaning the appliance after each use. This way, the meat grinder remains in top condition and can be used reliably for many years to come.
Restoring and maintaining your meat grinder not only extends its lifespan but also improves the quality of your meals. A well-maintained meat grinder ensures efficient processing of meat, vegetables, and other ingredients – ideal for your home recipes.
Tips for Improving the User Experience
Always use fresh ingredients to avoid putting unnecessary strain on the meat grinder.
Clean the meat grinder thoroughly after each use.
Store the parts in a dry place to prevent rust.
With these simple yet effective maintenance tips, your meat grinder will become an indispensable kitchen helper that will serve you faithfully for years to come. Be sure to perform maintenance regularly to keep the appliance in top condition.
Don’t forget to subscribe to our page, leave a like, and share the article with your friends!