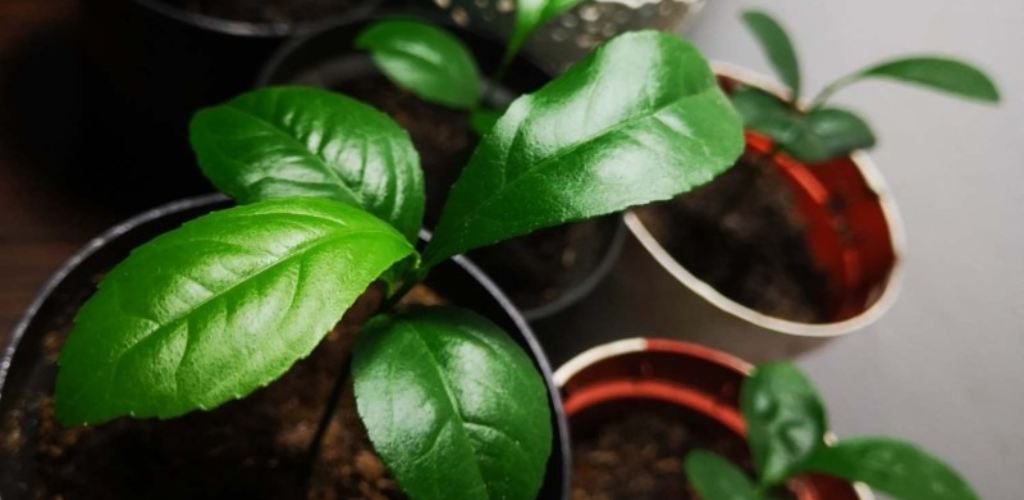
WHEN LIFE GIVES YOU LEMONS, MAKE TREES!
Next time you juice a lemon, save some seeds to grow in your tree. Even in the coldest months, a productive lemon tree can grow inside your home. They are beautiful in appearance, from dark green leaves to snow-white flowers, and also exude a pleasant, refreshing scent.
Growing a lemon tree from seed is surprisingly simple and something anyone can do if they have a warm, sunny windowsill. It will take a few years for it to bear fruit and blossom, but your hard work will pay off in the end. Citrus will grow in all parts of Australia, except in areas subject to severe frost.
Citrus trees have great benefits
- They can produce gloriously fragrant white flowers, sport glossy green leaves and brightly colored fruit: yellow, orange and green
- The fruit remains on the tree in good condition for many months after ripening providing long-term self-preservation
- Citrus fruits are rich in vitamin C and are great for winter health, including resistance to colds and flu
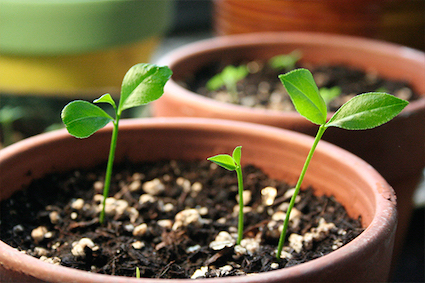
This is how you grow your lemon tree
First you will need
- An organic lemon as non-organic lemons often contain non-germinating seeds
- Fertile potting soil and natural fertilizers such as compost
- A seedling pot approximately 24 inches wide by 12 inches deep
- A vase six inches wide and six inches deep (this comes in handy further down the track)
- A sunny place for indoor cultivation
Directions
- Moisten the potting soil so that it is moist, but not soggy, all the way through.
- Fill the smaller pot with soil, up to an inch below the rim.
- Open your lemon and remove one seed. Remove all pulp from its surface. A good way to do this is to simply suck it until it’s clean.
- Don’t delay planting. The seed should still be moist when buried in the soil in the smallest pot. Plant the seed about half an inch deep in the middle of the pot.
- Gently spray the soil that is directly on top of the seed with water from a spray bottle.
- Cover the pot with cling film, seal the edges with a good rubber band and poke small holes in the top with a pencil.
- Place the pot in a warm, sunny place.
- Spray more water from time to time, keeping the soil from drying out. However, do not cause puddles of water. Just keep the soil a little moist.
- After about two weeks, when the sprouts appear, remove the plastic cover. If you need additional light for your lemon plant, you can use a grow light to supplement the sunlight.
- Care for the young plant by keeping the soil moist, making sure it gets at least eight full hours of light a day, and giving it moderate doses of organic fertilizer such as compost.
- Supervise your plant to make sure it is not attacked by insects or diseases. Remove brown and dead leaves when needed.
- When the plant outgrows its small pot, place it in the larger pot. You will follow much the same procedure when you replant it as when you first planted. Younger plants need more water than older plants, but all need adequate water. Don’t starve your poor plant after all that work to grow it!
Thanks to Eat Local Grown for these great tips.
I’ve also seen people germinate seeds using a different method that requires a plastic bag, so if anyone is familiar with this, I’d love you to leave a comment below.
Happy lemon planting!