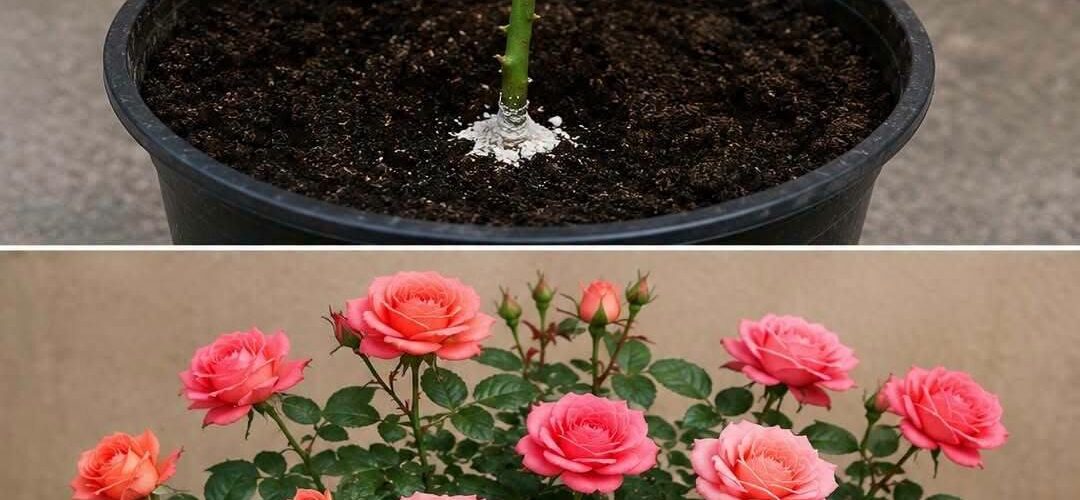
Propagating roses from stem cuttings is straightforward, but the real secret isn’t potatoes or secret chemicals—it’s creating a high-humidity environment so the stem can grow roots before it dries out.
1.Select and Cut the Stem:Best done late spring through early autumn.
Cut a 6 to 8-inch healthy stem from a pencil-thick branch where a bloom has just faded. Make the bottom cut at a 45-degree angle directly below a leaf node (where leaves attach to the stem).
2.Prep the Stem:Prevents moisture loss.
Strip off the lower leaves, leaving only 2 to 3 leaves at the very top. Cut those top leaves in half to reduce water loss while still allowing photosynthesis. Dip the bottom inch in rooting hormone powder (or honey as a natural alternative).
3.Plant in Well-Draining Soil:
Insert the bottom 2 inches of the cutting into a pot filled with a moist 50/50 mix of potting soil and perlite (or sand). Press the soil firmly around the stem to hold it upright.
4.Create a Mini Greenhouse:The critical step for success.
Cover the pot with a clear plastic bag or a cut-off plastic soda bottle. This traps high humidity around the stem so it doesn’t dry out before roots develop. Place it in bright, indirect sunlight—never direct hot sun, which cooks the cutting.
5.Wait and Test Roots:Takes roughly 4 to 8 weeks.
Keep the soil lightly moist. After 4 to 6 weeks, gently tug on the stem. If you feel resistance, roots have formed! You can then remove the plastic cover and transition your new rose plant to a larger pot or your garden.