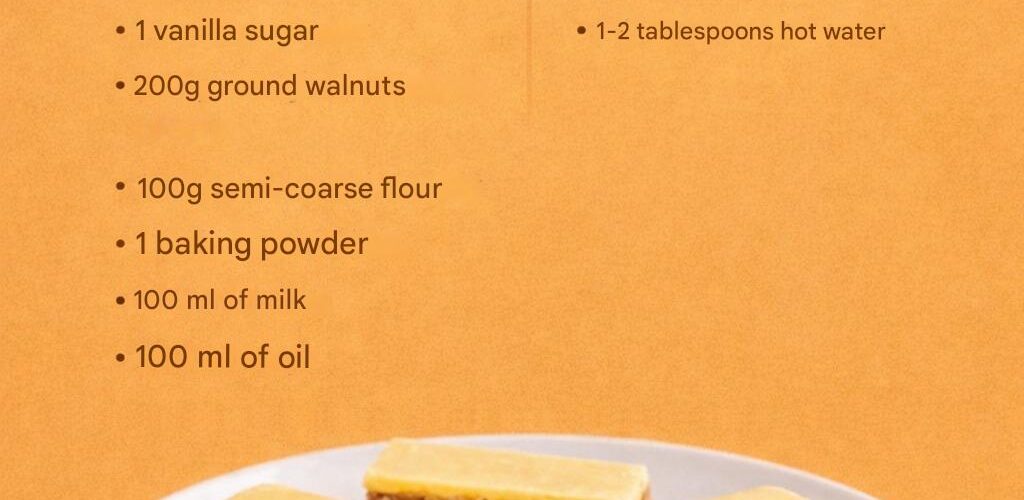
These Walnut Slices (Orechové rezy) are a vintage bakery classic. The “magic trick” here is the raw egg yolk glaze: you pour it over the cake the moment it comes out of the oven. The residual heat “cooks” the yolk into a shiny, crackly, bright yellow shell that stays soft underneath.
It is incredibly nutty, rich, and—most importantly—simple to prepare.
🥜 The “Golden Glow” Walnut Slices
1. The Walnut Sponge
- ¾ cup (180g) Butter, softened
- ¾ cup (150g) Powdered sugar
- 1 ½ cups (150g) Ground walnuts
- ¾ cup (100g) All-purpose flour
- 5 Egg whites (Save the yolks for the glaze!)
- 1 tsp Baking powder
Instructions: 1. Cream the butter and sugar until fluffy. Stir in the ground walnuts, flour, and baking powder. 2. In a separate bowl, whip the egg whites until stiff peaks form. 3. Gently fold the whites into the walnut mixture. Spread on a lined small sheet pan (approx. 20×30 cm). 4. Bake: 180°C (350°F) for about 20–25 minutes.
2. The Famous Egg Yolk Glaze
- 5 Egg yolks
- ¾ cup (150g) Powdered sugar
- 1 tsp Vanilla extract
Instructions: 1. While the cake is in the oven, whisk the yolks and sugar together for at least 3–5 minutes until the mixture is pale, thick, and creamy. 2. The Moment of Truth: As soon as you take the hot cake out of the oven, pour the yolk mixture over it immediately. 3. Spread it quickly and evenly. The heat from the cake will set the glaze into a smooth, glossy finish.
💡 Why This Recipe is a “Heritage” Favorite
- Zero Waste: You use the whites for the fluffy volume of the cake and the yolks for the rich, decadent topping.
- The Texture: The cake is moist and intensely nutty, while the glaze has a unique “snap” to it that melts on the tongue.
👵 Grandma’s “Speedy” Tips
- The “Dry” Walnut Trick: If you want a deeper flavor, lightly toast the walnuts in a dry pan for 3 minutes before grinding them. It makes the cake smell like a professional Patisserie.
- The Clean Cut: Wait for the cake to be completely cold before slicing. Use a thin, sharp knife dipped in hot water to get those perfect, sharp-edged rectangles without cracking the yellow glaze.
🥧 Pro Tip for the Glaze
If the glaze doesn’t look “set” enough after 5 minutes, you can pop the cake back into the turned-off oven (just the residual heat) for 2 minutes. This will dry the surface of the glaze perfectly without overcooking the cake.
⚠️ A Note on Safety
Because the glaze is “cooked” by the heat of the cake rather than a long bake, ensure you use fresh, high-quality eggs. The heat of a 180°C cake is sufficient to stabilize the yolks for consumption.