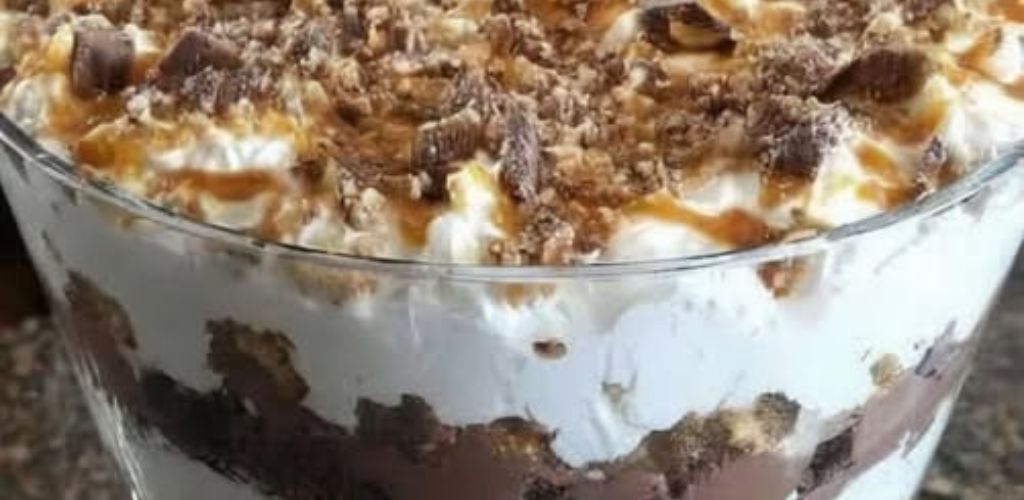
Close your eyes and imagine the most exquisite and irresistible dessert you’ve ever tasted; now multiply that by ten. Welcome to Heaven in a Bowl, the legendary layered dessert so delicious, so simply delicious, and so universally loved that it lives up to its heavenly name! It’s not just a dessert: it’s an experience, a celebration in every spoonful, and the undisputed star of any potluck, party, or family gathering.
Imagine this: rich, creamy brownie chunks layered with creamy chocolate pudding, clouds of whipped cream, and crunchy toffee pieces that create the most magnificent combination of textures you’ll ever experience. Every spoonful offers a perfect balance of chewy, creamy, and crunchy textures that will have everyone closing their eyes in pure bliss. And the best part? No baking required! Just layer, chill, and enjoy the magic!
✨ Why does this dessert earn its heavenly name?
Before we assemble our layers, let’s talk about what makes this dessert so extraordinary:
NO-BAKE SHINE: Perfect for hot days or when oven space is limited
MAKE-AHEAD MAGIC: It actually tastes better when made ahead of time
CROWD-ATTRACTING POWER: Serves a crowd with minimal effort
PERFECT TEXTURE: The ideal balance of chewy, creamy, and crunchy.
A VISUAL SPECTACLE: Gorgeous layers that impress before the first bite
🛒 Your heavenly ingredient list
The brownie base:
1 package (18-21 oz) brownie mix (baked according to instructions) OR
1 pound store-bought brownies, cut into 1-inch pieces
The creamy layers:
2 packages (3.4 oz) instant chocolate pudding mix
4 cups cold milk
1 container (8 oz) frozen whipped topping, thawed
1 package (8 oz) cream cheese, softened
The crunchy magic:
4-6 chocolate-covered toffee bars (like Heath or Skor), crushed
1 cup mini chocolate chips
Optional heavenly additions:
1 cup chopped pecans or walnuts
1/2 cup caramel sauce for drizzling
Maraschino cherries for garnish
Chocolate shavings for elegance
👼 Your foolproof layering method
Step 1: Prepare the base
Bake the brownies according to the package instructions and let them cool completely.
Cut them into 1-inch pieces; these will form your delicious base.
Step 2: Create the creamy layers
In a large bowl, beat the cold milk chocolate pudding mix for 2 minutes until thickened.
In another bowl, beat the softened cream cheese until smooth, then fold in 1 cup of heavy whipping cream.
Gently fold the cream cheese mixture into the pudding until well combined.
Step 3: The Grand Assembly
Layer 1: Place the brownie pieces in the bottom of a large trifle bowl or a 9×13-inch dish.
Layer 2: Spread half of the pudding mix over the brownies.
Layer 3: Sprinkle half of the crushed candy bars and half of the chocolate chips.
Layer 4: Spread the remaining pudding mix over the brownies.
Layer 5: Top with the remaining whipped topping.
Layer 6: Finish with the remaining candy bars, chocolate chips, and any optional toppings.
Step 4: The Patient Wait
Cover and refrigerate for at least 4 hours, preferably overnight.
This chilling time allows the flavors to meld into a heavenly treat.
Step 5: Serve with Love
Serve in pretty bowls or glasses.
Watch as people discover the magical layers with every spoonful!
🌟 5 Secrets to Heavenly Perfection
LET BROWNIES COOL COMPLETELY: Warm brownies will make your layers soggy.
CHILL THOROUGHLY: The magic happens in the refrigerator—don’t rush it!
LAYER EVENLY: Take your time to create beautiful, distinct layers.
CRUSH CANDIES PROPERLY: Some fine crumbs and some chunks to vary the texture.
USE COLD MILK: Essential for the pudding to set properly.
Serving Suggestions That Feel Divine
ELEGANT ENTERTAINING: In individual parfait glasses with chocolate curls.
FAMILY GATHERINGS: In a large bowl for everyone to admire.
HOLIDAY MAGIC: With mint pieces for a festive version.
SUMMER MEALS: Fresh, refreshing, and always the first to disappear. “JUST BECAUSE” GIFT:** Because Tuesdays deserve heaven too!
❓ Frequently Asked Questions
Q: Can I make it ahead of time?
A: Absolutely! This dessert tastes even better the next day. Make it up to 24 hours in advance.
Q: What can I use instead of toffee bars?
A: Crushed Oreo cookies, Butterfingers, or even pretzels work wonderfully!