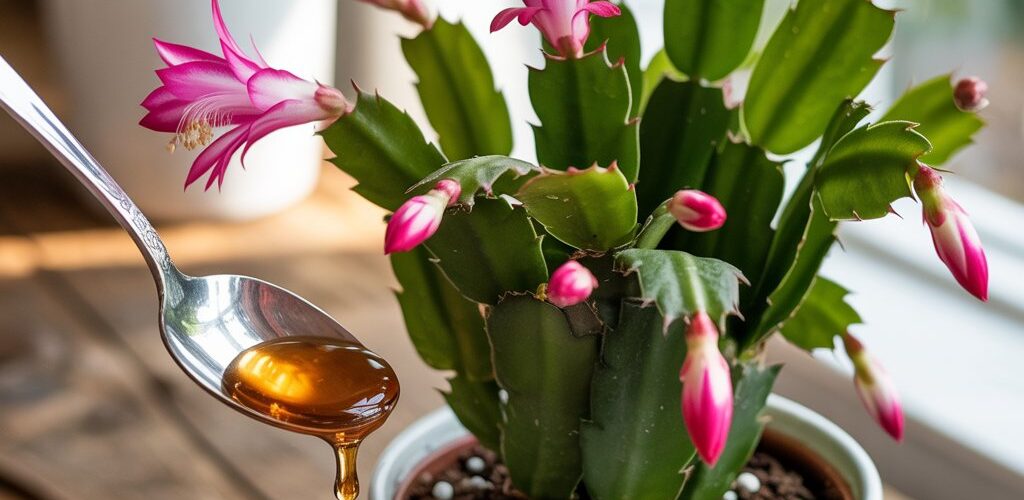
The Christmas Cactus (Schlumbergera) is the jewel of the winter holidays, known for its vibrant exotic flowers in shades of red, pink, or white.
Unlike its desert cousins, this cactus loves moisture and shies away from harsh sunlight. But did you know it is also incredibly easy to propagate? You can turn one plant into a dozen for free!
Here is the ultimate 10-step guide to multiplying your Christmas Cactus successfully.
Step 1: Timing is Everything
Patience is key. The absolute best time to take cuttings is in the spring, right after the plant has finished blooming. This is when the plant wakes up and enters its vegetative growth phase, making rooting much faster.
Step 2: Gather Your Supplies
You don’t need much, just the basics:
- A healthy mother plant.
- Small pots or a jar for the new cuttings.
- Gravel or small stones (for drainage at the bottom).
- Optional: Perlite (great for aeration and faster root growth).
Step 3: Taking the Cuttings (The Twist Method)
Look for a healthy branch and aim for a cutting about 3 to 4 inches long (7-10 cm), containing at least 3 segments (joints).
- Pro Tip: Instead of using a knife, use the “twist” method. Gently pinch the segment at the joint and twist until it snaps off cleanly. It’s less invasive and heals better than a cut.
Step 4: The Healing Phase (Crucial!)
Do not plant immediately! This is the secret to success. Place your cuttings in a cool, dry place out of direct sun for a few days to a week. The raw end needs to dry out and form a “callus” (a hard crust). If you plant it while it’s fresh, the stem will likely rot in the soil.
Step 5: Planting
Prepare a pot with moist (but not soggy) soil. Push the callused end of the cutting into the soil about 1 inch (2-3 cm) deep. Press the soil gently around it to secure it upright.
- Design Tip: Plant multiple cuttings in the same pot to create a bushy, full plant right from the start.
Step 6: Watering & The “Mini-Greenhouse”
The Golden Rule: Let the top inch of soil dry out before watering again. Overwatering is the number one killer of cuttings.
- The Trick: Cover the pot with a clear plastic bag (poke a few holes in it for airflow). This creates a humid “mini-greenhouse” environment that tropical cacti love.
Step 7: Lighting
Christmas Cacti love bright, indirect light. A spot near an East or West-facing window is perfect.
- Warning: Never place fresh cuttings in direct, hot sunlight; they will scorch and die.
Step 8: Care & Monitor
Keep an eye on the leaves. If they turn yellow or look shriveled, it could mean too much water or too much sun. During the growing season (spring-summer), you can feed them with a balanced houseplant fertilizer diluted to half-strength once a month.
Step 9: The “Tug Test”
Rooting can take anywhere from a few weeks to a few months.
- How to check: Give the cutting a very gentle tug. If you feel resistance, congratulations! Roots have formed. Once you see new leaf segments growing at the tip, your new plant is established.
Step 10: The Final Transplant
Once the babies are strong enough, you can move them to their permanent pots.
- The Perfect Soil Mix: Equal parts Potting Soil + Coarse Sand + Peat Moss. After repotting, water well and keep them in the shade for a few days to recover from the shock.
Happy gardening! 🌿🌸