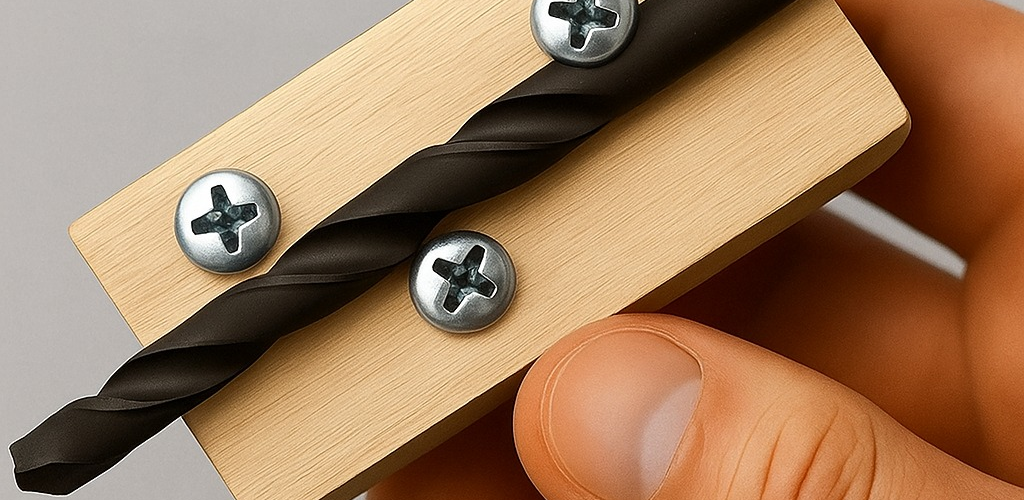
Here’s a guide on how to get your old drill bits razor-sharp again. The sharpening process not only makes them “like new,” but also more efficient and safer to use.
Sharpening Old Drill Bits: How to Make Them Razor-Sharp! 🔧🔥
Dull drill bits are frustrating and inefficient. They generate more heat, can damage the material, and make work unnecessarily difficult. However, with a little practice, you can restore your old drill bits to razor-sharp precision.
Why Drill Bits Become Dull and How to Recognize It:
Drill bits become dull because the cutting edges wear down due to friction, heat, and material abrasion. A dull drill bit:
Requires a lot of pressure to penetrate the material.
Smokes heavily or generates a lot of heat.
Makes loud noises or squeaks.
Leaves unclean holes or doesn’t “eat” through properly.
Has shiny, rounded, or chipped cutting edges.
What you need for sharpening:
Grinder (bench grinder) with grinding wheel: This is the most common and effective tool. Make sure you use a grinding wheel with a fine to medium grit.
Safety goggles: ABSOLUTELY NECESSARY! Sparks and metal particles can seriously injure your eyes.
Gloves: For protection from heat and sharp edges.
Cold water: For cooling the drill bit during sharpening to prevent annealing.
Optional: Drill grinder: Highly recommended for precision work and beginners. These devices clamp the drill bit at a specific angle and guide it safely over the grinding wheel.
Optional: A magnifying glass or magnification: For closely inspecting the cutting edges.
The Art of Drill Bit Sharpening:
Sharpening a twist drill focuses on two main areas: the cutting edges and the point angle (clearance angle). Both must be ground precisely.
- Safety first!
Always wear safety goggles and gloves.
Make sure your grinder is stable and the protective attachment is correctly positioned. - Prepare the drill:
Pick up the drill bit. Focus on the two cutting edges at the tip. These are often rounded or damaged on a dull drill. - Find the right angle:
The standard point angle for most metal drill bits is 118° to 120°. This angle provides a good balance between cutting performance and stability.
The clearance angle (the angle behind the cutting edge that prevents the back of the drill bit from rubbing against the workpiece) is equally important. It should be approximately 6° to 10°. To create this clearance angle, you must tilt the drill bit slightly downward while sharpening. - The grinding process (manually on the grinder):
Starting position: Hold the drill bit firmly with both hands. Place the cutting edge of the drill bit at an angle of approximately 60° (half of the 120° point angle) against the rotating grinding wheel.
The movement:
Guide the drill bit gently and in a controlled manner to the grinding wheel.
As you place the drill bit, rotate it slightly around its longitudinal axis (away from your body), slightly lowering the end of the drill bit. This combined rotating and downward movement creates the clearance angle and the slight curvature of the cutting edge.
Important: Apply only light and even pressure. Do not allow the drill bit to overheat! After grinding for a few seconds, immediately immerse the drill bit in cold water to cool it and prevent annealing (loss of hardness).
Both sides: Repeat the process for the other cutting edge. It is crucial that both cutting edges have exactly the same angle and length. Any inaccuracy will cause the drill bit to wobble or drill imperfectly.
Point cross: Check the center of the drill bit—the so-called point cross. It should be sharp and centered. If it is too wide, the drill bit will not center properly. Sometimes you need to re-grind it with a fine edge of a grinding wheel to make it narrower. - Check the result:
Examine the sharpened edges closely. They should be sharp and shiny, without burrs or rounding.
Hold the drill bit up to the light. The point angles of both cutting edges should be mirror images and even.
Do a test run: A sharp drill bit will penetrate the material evenly with little pressure and without excessive heat generation.
If you are using a drill grinder:
These devices make the process much easier because they fix the drill bit in the correct position, and you only have to pull it through a predefined guide. Follow the manufacturer’s instructions, as handling may vary depending on the model. They are an excellent investment for anyone who regularly