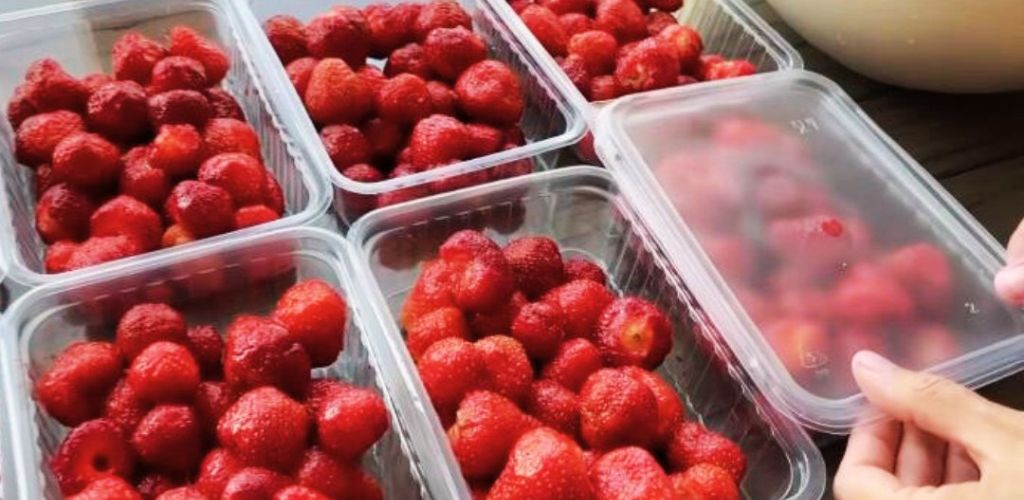
Strawberries in winter, tasting as if just from the garden, and without cooking – that’s a fantastic idea! This method is often called “raw jam” or “freezer jam” and it really preserves the fresh flavor and vibrant color of the strawberries. It’s much simpler than traditional jam making because there’s no long cooking process.
Here’s a recipe for a “no-cook” strawberry preparation that you can enjoy throughout the winter:
“Fresh from the Garden” No-Cook Strawberry Preservation (Freezer Strawberries)
This method captures the essence of fresh strawberries, making them perfect for toppings, mixing into yogurt, or even just eating by the spoonful.
Ingredients:
- 1 kg (about 2.2 lbs) fresh, ripe strawberries
- 500g – 700g (about 2.5 – 3.5 cups) granulated sugar (adjust to your preference; less sugar means it’s more like crushed fruit, more sugar helps preserve it longer and makes it sweeter. A common ratio is 1:1 by volume or 1:0.5-0.7 by weight)
- Optional: 1-2 tablespoons fresh lemon juice (enhances flavor and helps preserve color)
Equipment:
- Large mixing bowl
- Potato masher, fork, or food processor/blender
- Clean freezer-safe containers with airtight lids (plastic containers, glass jars – leave headspace!)
Instructions:
- Prepare the Strawberries:
- Gently rinse the strawberries under cool running water. Do not soak them.
- Carefully pat them dry with paper towels or let them air dry completely. This is important to prevent excess moisture, which can affect freezing.
- Hull the strawberries (remove the green tops and core).
- Mash the Strawberries:
- Place the hulled strawberries in a large mixing bowl.
- Using a potato masher or a fork, gently mash the strawberries to your desired consistency. Some people prefer a chunkier texture, others like it more finely crushed. You can also pulse them briefly in a food processor or blender for a smoother consistency, but be careful not to over-process into a complete liquid.
- Add Sugar:
- Gradually add the granulated sugar to the mashed strawberries. Start with 500g and add more if you prefer it sweeter or are planning to store it for a very long time.
- Stir well until the sugar begins to dissolve. This might take some time, about 10-15 minutes of stirring. The sugar acts as a preservative and helps draw out the strawberry juices.
- If using, stir in the fresh lemon juice now.
- Let it Sit:
- Cover the bowl and let the mixture sit at room temperature for about 30-60 minutes, stirring occasionally. This allows the sugar to fully dissolve and meld with the strawberry juices, creating a beautiful syrup. The mixture should become more fluid.
- Pack into Containers:
- Spoon the strawberry mixture into clean, freezer-safe containers.
- Crucially, leave at least 1-2 cm (1/2 to 1 inch) of headspace from the top of the container, as the mixture will expand when frozen. Overfilling can cause containers to crack.
- Wipe the rims clean and seal the containers tightly with their lids.
- Freeze:
- Label the containers with the date.
- Place them in the freezer. They will freeze solid, and the texture will be similar to a very thick, soft sorbet once thawed.
Storage:
- This no-cook strawberry preparation can be stored in the freezer for up to 6-9 months while maintaining excellent flavor and quality.
- Once thawed, store in the refrigerator and consume within 1-2 weeks.
How to Enjoy in Winter:
- Topping: Fantastic over pancakes, waffles, French toast, oatmeal, yogurt, ice cream, or cheesecake.
- Mix-in: Stir into smoothies, milkshakes, or plain yogurt.
- Baking: Can be used as a filling for tarts or cakes (after thawing), or mixed into muffin batter.
- Drinks: Mix with sparkling water or lemonade for a refreshing beverage.
This method truly brings the taste and aroma of summer strawberries to your winter table! Enjoy