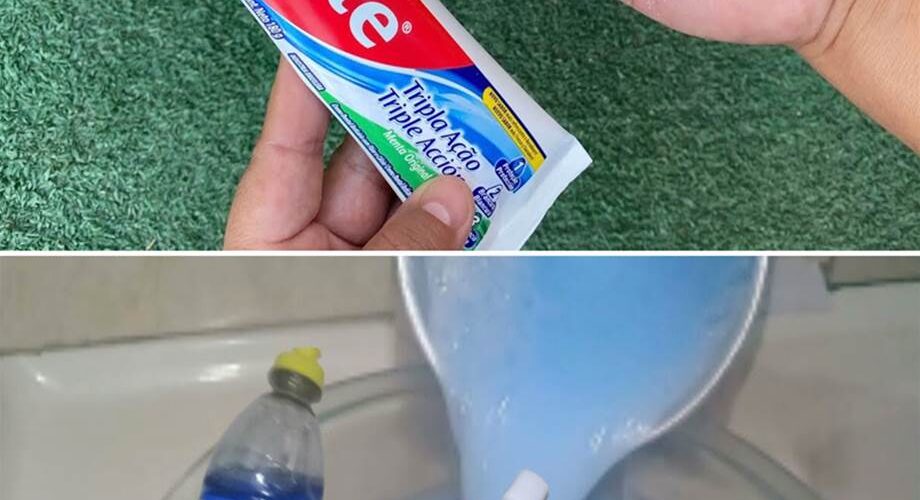
This trick has recently flooded the internet and social media as a guaranteed home recipe for burnt-on pots and pans. The combination of toothpaste and sugar promises quick, effortless cleaning, but the reality is a bit more complicated and requires caution.
Let’s take a look at how this trick works, why it can help, and when you should not try it so as not to ruin your pans.
How does it (theoretically) work?
The principle of this method lies in the combination of two common household ingredients:
Toothpaste: Contains mild abrasive ingredients (which normally clean our tooth enamel) and often also baking soda or peroxide, which help dissolve dirt and whiten.
Granulated sugar: This acts as an additional mechanical exfoliant. Since it doesn’t dissolve immediately in moisture, its particles help scrape away baked-on grease.
Cleaning method
If you decide to try this trick, the following procedure is usually recommended:
Apply the paste: Squeeze a generous amount of regular white toothpaste onto the stained area of the pan (gel toothpastes don’t work as well).
Add sugar: Sprinkle one to two teaspoons of granulated sugar over the paste.
Mix and rub: Use an old toothbrush or soft sponge to create a paste and scrub the affected area in a circular motion.
Rinse: Wash the pan thoroughly with warm water and dish soap.
⚠️ Big WARNING: Which pans are not suitable for this?
Before you get excited about cleaning, check what material your pan is made of. This trick can do more harm than good.
❌ Teflon and non-stick surfaces
Never use this trick on the inside of Teflon pans! The sugar and abrasive in toothpaste are too harsh. You could scratch and destroy the non-stick coating, making the pan unusable and dangerous to your health.
❌ Polished stainless steel
If you have expensive, high-gloss stainless steel pans, sugar could leave fine micro-scratches on them, making the surface dull.
Where else can you try this?
The outside (bottom) of pans: Where a thick layer of burnt-on fat builds up and direct flames/heat create black deposits.
Cast iron pans: They can handle rougher handling, but you will need to re-oil and season them after cleaning.
A gentler and proven alternative
If you don’t want to risk scratching the dishes with sugar, go for the classic, which is also recommended by professionals:
Baking soda and vinegar: Sprinkle the burnt areas with baking soda, pour a little vinegar (it will start to foam) and leave for 15 minutes. Then gently clean the pan with a classic sponge. This is safer for the surface of the pan and often more effective.